Baby-Nail-Care
The Complete Guide to Baby Nail Care: How to Cut Baby Nails Safely
The arrival of a newborn unfurls a tapestry of new experiences, joys, and a surprising array of responsibilities. Among these, the seemingly straightforward task of baby nail care often emerges as an unexpected source of anxiety for many caregivers. Those impossibly tiny fingers, tipped with nails as thin as parchment yet surprisingly sharp, can present a genuine challenge. The inherent fear of accidentally nicking delicate skin, compounded by a baby’s unpredictable wiggles and squirms, can transform what seems like a minor grooming task into a moment of palpable trepidation.
Understanding Baby Nails: The Unique Characteristics
To understand why baby nail care requires special techniques, imagine the difference between cutting tissue paper versus cardboard. Adult nails are like cardboard—thick, sturdy, and requiring significant force to cut. Baby nails resemble tissue paper—incredibly thin, flexible, and surprisingly sharp despite their delicate appearance.
The Growth Speed Phenomenon
Baby fingernails grow at a rate that would impress even the most dedicated gardener. While adult nails grow approximately 2-3 millimeters per month, baby nails can grow twice as fast, sometimes requiring attention every 3-4 days during growth spurts. This rapid development occurs because infant bodies operate like highly efficient factories, directing abundant nutrients and energy toward all growing tissues.
The biological reason for this speed relates to infant metabolism, which operates at peak efficiency to support rapid overall development. Blood circulation to the nail beds is particularly robust in babies, delivering the proteins and minerals necessary for nail formation at an accelerated pace.
The Anatomy of Baby Nails
Baby nails consist of the same basic components as adult nails but with significant differences in proportion and characteristics. The nail plate—the visible part we call “the nail”—measures incredibly thin in infants, often described by pediatric nurses as “transparent” or “membranous.” Beneath this lies the nail bed, which appears pink due to the blood vessels visible through the thin nail material.
The cuticle area in babies requires special attention because it’s more prone to damage than in adults. This delicate skin border can easily tear or become inflamed if handled roughly, leading to discomfort and potential infection. The lunula—the whitish, moon-shaped area at the base of the nail—may be barely visible in babies, unlike the prominent crescents seen in adult nails.
Why Baby Nails Are Surprisingly Sharp
Despite their paper-thin quality, baby nails achieve remarkable sharpness through their structure. Imagine a piece of paper folded to create a sharp edge—while fragile, it can still cut. Baby nails work similarly, with their thin composition allowing them to develop razor-like edges that can inflict significant scratches on delicate baby skin.
This sharpness serves no protective function as it does in adults, creating one of parenting’s most ironic challenges: protecting babies from themselves. The combination of thin composition and natural growth patterns creates points that can scratch corneas, damage delicate facial skin, or disrupt sleep through self-inflicted wounds.
Why You Must Cut Your Baby’s Nails (And What Happens If You Don’t)
The seemingly innocuous nature of a baby’s fingernails belies their potential to cause harm if left untended. Beyond mere aesthetics, consistent and proper baby nail care is a critical component of infant health and safety.
Preventing Scratches: A Primary Concern
One of the most immediate and visible reasons for diligent nail care is the prevention of scratches. Infants, particularly newborns, possess limited control over their motor movements. Their hands often flail spontaneously, like little windmills, and their nails, though soft, can be surprisingly sharp.
- To the Infant: Babies frequently scratch their own delicate skin. This is especially true on their faces, which are often within easy reach of their hands. These self-inflicted scratches can lead to unsightly red marks, particularly around the eyes or cheeks. While most are minor, a deep scratch can disrupt a baby’s sleep or feeding, and in rare cases, if deep enough, could potentially leave a lasting mark. Furthermore, a baby’s eyes are particularly vulnerable; an accidental scratch to the cornea (the clear outer layer of the eye), though rare, is a serious concern that could lead to infection or vision issues. While parents often use newborn mittens as a temporary solution to prevent scratches, these can hinder a baby’s natural sensory development (babies learn by touching and grasping!) and are not a sustainable long-term strategy. Trimming is the permanent, developmental-friendly solution.
- To Caregivers: Parents and caregivers are also susceptible to accidental scratches during routine interactions such as cuddling, changing diapers, or feeding. These can be surprisingly painful and, at times, lead to minor skin abrasions on your own hands or arms.
Mitigating Infection Risks
Longer nails provide a fertile ground for the accumulation of dirt, lint, and germs. Think of the space under a nail as a tiny, hidden pocket where microscopic invaders can hide. As babies frequently put their hands in their mouths as part of their oral exploration – a crucial stage of development where they learn about textures and tastes – these accumulated pathogens can be easily ingested. This increases the risk of mild infections, like a stomach upset, or skin irritations around the mouth.
Moreover, any scratch that breaks the skin barrier, whether self-inflicted or otherwise, creates an entry point for bacteria. While a baby’s immune system is robust and constantly developing, minimizing these potential entry points is a proactive step in preventing secondary infections (infections that develop after an initial injury).
For toenails, an additional concern is the potential for ingrown nails, which occur when the nail grows into the surrounding skin, causing pain and redness. While less common in infants, it remains a consideration, especially if nails are trimmed incorrectly.
Enhancing Comfort and Safety
Untrimmed nails can snag on clothing, blankets, or even the soft fabric of a parent’s shirt, leading to discomfort or minor tears in fabric. This can be particularly disruptive during sleep or active play, as a snagged nail can pull on the delicate skin around it. By keeping nails short and smooth, parents ensure their baby’s comfort and reduce the risk of entanglement, allowing them to move freely and safely.
Fostering Healthy Development and Hygiene
From an innovative perspective, well-maintained nails contribute to a baby’s overall well-being and development. While our primary goal is to keep nails short for safety, it is equally important not to over-trim to the point of pain or discomfort. Infants learn about their world through touch and exploration; their hands are their primary tools for this sensory discovery. Properly trimmed nails allow for safe sensory exploration without the risk of injury. Imagine a baby trying to grasp a toy – if their nails are too long, it might be uncomfortable or even prevent them from getting a good grip. Furthermore, establishing a routine of nail care from an early age subtly introduces the concept of personal hygiene, laying a foundation for future self-care practices. It’s a small but significant step in teaching them about body care.
Best Baby Nail Clippers & Tools (Comparison)
Approaching baby nail care requires the right equipment. Using adult tools is a common mistake that can lead to unnecessary anxiety and potential injury. Specialized baby nail care tools are designed with an infant’s delicate anatomy in mind, prioritizing safety and ease of use. Think of it like using a surgeon’s delicate instruments versus a carpenter’s heavy tools – precision matters.
Indispensable Tools for Precision and Safety
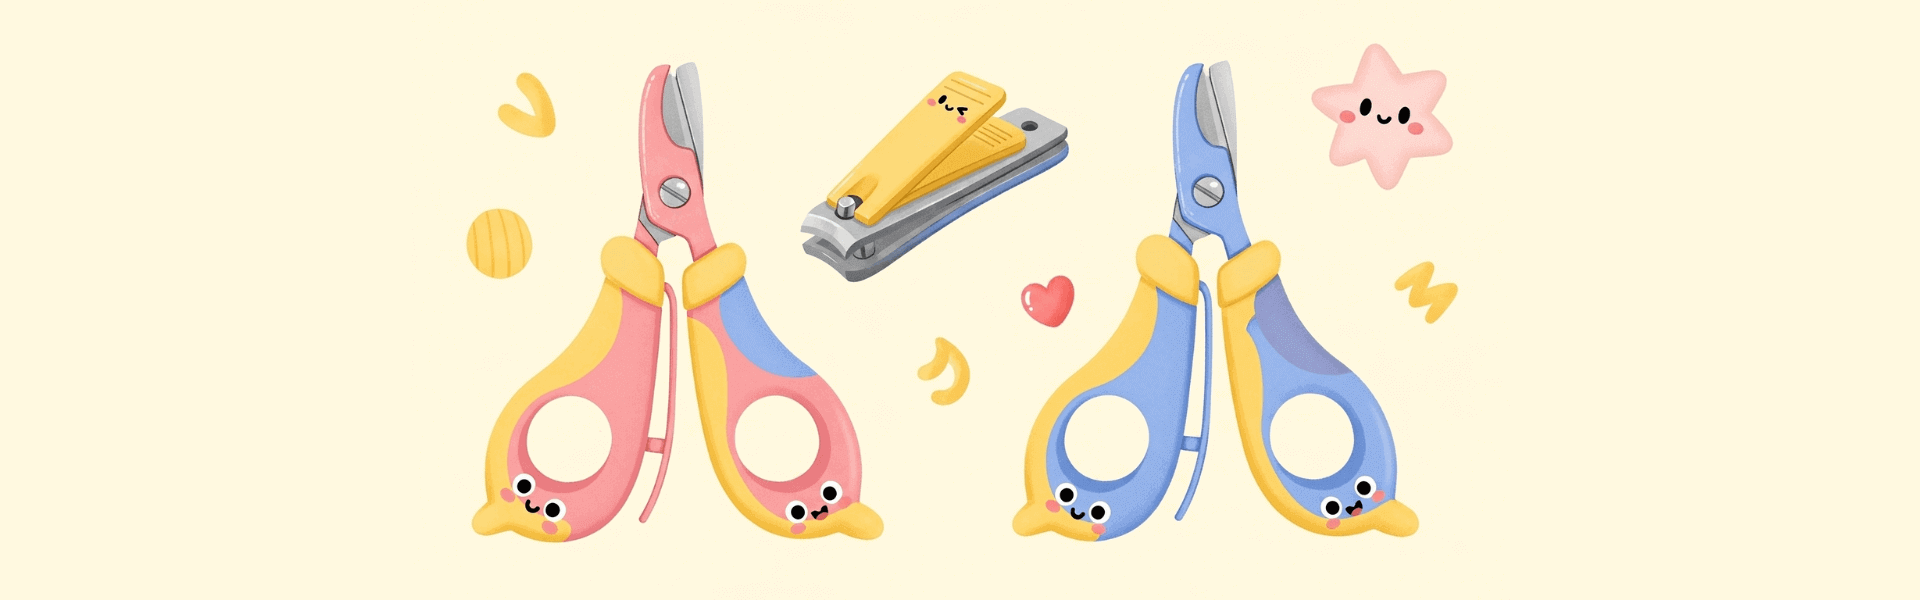
- Baby Nail Clippers: These are distinct from adult clippers, featuring smaller blades, often with rounded tips (unlike the sharper, pointed tips of adult clippers) and sometimes a built-in safety guard or a magnifying glass. Their diminutive size and thoughtful design make them ideal for navigating tiny fingers and toes without accidentally nicking the surrounding skin. For new or particularly anxious caregivers, the direct “snipping” action can be intimidating due to the perceived risk of nipping the baby’s skin. When selecting, prioritize ergonomic designs that offer a comfortable and secure grip for the caregiver, ensuring a steady hand.
- Baby Nail Scissors: Similar to clippers, baby nail scissors are characterized by their small, blunt, and rounded tips, coupled with short blades. For very thin, flexible newborn nails, some parents find scissors offer greater control and visibility than clippers, almost like using a tiny pair of craft scissors for precision work. The rounded tips are a critical safety feature, minimizing the risk of accidental punctures.
- Baby Nail File (Emery Board or Glass File): A fine-grit emery board or, even better, a durable glass file, is an invaluable tool. For newborns, whose nails are often paper-thin and easily pliable, filing can be the primary method of nail management, completely eliminating the risk of cutting the skin. It’s like gently sanding down a splinter, rather than cutting it. For older infants, a file is excellent for smoothing any rough edges or sharp points left after clipping or cutting, preventing snags on clothing or skin. Glass files are particularly recommended due to their longevity, ease of cleaning, and gentle yet effective filing action. However, filing is a slower process, especially if the nails are significantly long, and it may not be as effective as clippers or scissors for quickly reducing substantial length.
- Electric Nail Trimmer/Filer: This innovative device has revolutionized baby nail care for many anxious parents. Battery-operated, it features rotating filing pads with varying grits, designed for different age groups (e.g., newborn, 3-6 months, 6-12 months, etc.). The primary advantage of an electric trimmer is the virtual elimination of the risk of cutting the skin. The filing action is incredibly gentle and quiet, making it less intimidating for both parent and baby. It can be used effectively even when the baby is awake and squirming, or peacefully asleep, offering unparalleled flexibility. For those who dread the traditional clipping method, an electric trimmer often proves to be a worthwhile investment, providing peace of mind.
Baby Nail Care Tools Comparison
| Tool | Best For | Pros | Cons |
|---|---|---|---|
| Baby Nail Clippers | Infants 3+ months | Small blades with safety guards; precise cutting | Direct “snipping” action can be intimidating; requires steady hand |
| Baby Nail Scissors | Very thin newborn nails | Small, blunt, and rounded tips; good visibility | Requires two-handed operation; learning curve |
| Baby Nail File (Glass/Emery) | Newborns; finishing touches | Zero risk of cutting skin; good for shaping | Slower process; less effective for length reduction |
| Electric Nail Trimmer | Anxious parents; active babies | Virtual elimination of cutting risk; can use during sleep | Initial cost; requires batteries; slightly noisy |
Tools to Strictly Avoid
- Adult Nail Clippers/Scissors: These are simply too large and too sharp for a baby’s tiny nails and delicate skin. The risk of accidental injury is significantly higher, like trying to trim a tiny rosebud with garden shears.
- Never bite your baby’s nails. This practice is highly unhygienic, transferring germs from the caregiver’s mouth to the baby’s fingers. Furthermore, it is incredibly difficult to see what is being done, increasing the risk of accidentally biting the baby’s skin.
- Regular Sandpaper/Rough Files: These are far too abrasive for a baby’s soft nails and sensitive skin, potentially causing irritation or injury. Stick to tools specifically designed for infants.
Optional but Highly Recommended Enhancements
- Optimal Lighting: Natural daylight is ideal, but a bright lamp can provide the necessary illumination to clearly see the nail and the delicate skin underneath.
- Magnifying Glass: If not integrated into the clippers, a standalone magnifying glass can be incredibly helpful for precision, especially for very small nails.
- Soft Cloth/Cotton Ball: Useful for cleaning the nail area before or after trimming.
- Distraction Aids: A favorite toy, a pacifier, a comforting song, or even a short video (for older infants) can significantly divert a baby’s attention, making the process smoother. A distracted baby is a cooperative baby.
How to Cut Baby Nails: 3 Fail-Safe Methods
Executing baby nail care requires not just the right tools, but also a strategic approach to timing and technique. Patience, a steady hand, and a calm demeanor are paramount.
Optimal Timing for Success
Choosing the right moment can dramatically reduce stress for both parent and baby. This is about working with your baby’s natural rhythms, not against them.
- During Sleep: The “Gold Standard”: For many parents, trimming nails while the baby is deeply asleep is the most effective strategy. The baby is still, relaxed, and oblivious to the procedure, virtually eliminating squirming or resistance. It’s like performing a quiet, stealthy operation.
- After a Warm Bath: A warm bath softens the nails, making them easier to trim and less prone to splitting. Moreover, babies are often relaxed and drowsy after a bath, making them more amenable to the process. Their muscles are relaxed, and they’re often in a peaceful state.
- During a Feeding: For particularly calm babies, the distraction and comfort of feeding (breast or bottle) can make them still enough for a quick trim. However, this requires careful positioning to ensure visibility and safety, as one hand will be occupied with feeding.
- When Baby is Calm and Content: Never attempt nail care when the baby is hungry, overtired, or fussy. A calm, well-fed, and rested baby is far more cooperative. Trying to trim nails during a meltdown is a recipe for frustration and potential injury.
Detailed Step-by-Step Instructions
Regardless of the chosen method, certain preparatory steps are universal.
General Preparation (Applies to all methods):
- Gather All Tools: Ensure everything needed is within arm’s reach to avoid interruptions. Imagine a surgeon laying out all their instruments before an operation.
- Ensure Excellent Lighting: Good visibility is crucial for safety and precision. Natural daylight is often best, but a well-lit room with a bright lamp works too.
- Wash Hands: Maintain hygiene to prevent germ transfer to your baby.
- Choose a Comfortable Position: Whether holding the baby in your lap, having them lie on a changing table, or placing them in a bouncer, ensure both parent and baby are comfortable and the target hand/foot is stable. A stable platform is key to a steady hand.
Method 1: Using Baby Clippers or Scissors
This is the most common method for fingernails once they gain a bit of thickness.
- Secure the Hand/Foot: Gently but firmly hold the baby’s hand or foot, isolating the finger or toe being worked on. This prevents sudden movements from affecting other digits.
- Gently Press Down the Finger Pad: This is arguably the most crucial step and bears repeating. Using your thumb and forefinger, gently push down the fleshy part of the finger pad (the soft underside of the finger), separating it from the nail. This significantly reduces the risk of accidentally clipping the skin underneath the nail.
- Trim Straight Across (Fingernails with a Slight Curve): For fingernails, trim straight across, following the natural slight curve of the nail. Avoid cutting too deeply into the sides, as this can encourage ingrown nails.
- Trim Toenails Straight Across: For toenails, it is imperative to trim them straight across, without curving the corners. This is the primary preventative measure against painful ingrown toenails. Think of a straight line, not a U-shape.
- Avoid Cutting Too Short: Always leave a tiny bit of white nail visible at the tip. Cutting too close to the quick (the pink part of the nail bed, which contains nerves and blood vessels) can cause pain and bleeding. A little white tip is a safe tip.
- Smooth Edges: After clipping, use a baby nail file to gently smooth any sharp points or rough edges. This prevents snags and further scratches.
- Repeat: Move systematically from one nail to the next, taking your time.
Method 2: Using a Baby Nail File (Manual)
Ideal for very young infants or for parents who are particularly nervous about clipping. This method is slow but incredibly safe.
- Same Preparation as above.
- Gentle Filing Motion: Hold the baby’s hand/foot steady. Using the fine-grit file, gently file the nail in one direction (rather than a back-and-forth sawing motion), which prevents splitting or fraying of the delicate nail.
- Focus on Edges and Length: Concentrate on rounding off sharp corners and gradually shortening the nail until it is smooth and no longer poses a scratch risk.
- Patience is Key: This method takes longer than clipping but is virtually foolproof in terms of avoiding cuts. It’s a marathon, not a sprint.
Method 3: Using an Electric Nail Trimmer/Filer (Recommended for Anxious Parents)
This method offers unparalleled safety and ease, often feeling less intimidating than traditional tools.
- Same Preparation as above.
- Select the Correct Head: Electric trimmers come with multiple filing pads (heads) of varying grits, typically color-coded for different age ranges (e.g., a very fine grit for newborns, a slightly coarser one for older infants). Choose the one appropriate for the baby’s age and nail thickness.
- Gentle Contact: Turn on the trimmer to a low setting. Lightly touch the rotating filing pad to the nail. The device is designed to gently file away the nail without harming the surrounding skin, even if it makes contact. This is the magic of the electric trimmer – it’s designed to be skin-safe.
- Move Along the Nail: Gently guide the trimmer along the edge of the nail, allowing the rotating pad to gradually shape and shorten it. Observe the fine dust being produced, indicating nail material removal, not skin.
- Observe and Adjust: Periodically lift the trimmer to check the nail length and smoothness. The process is gradual, allowing for precise control, much like using a fine-tuning knob.
- Benefit: The low noise and vibration, combined with the absence of sharp blades, often make this the least stressful option for both baby and parent. Many parents report their babies barely notice it, or even find the vibration soothing.
Frequency of Trimming
The rate of nail growth varies among infants, but a general guideline can be established:
- Fingernails: These grow surprisingly fast, almost like tiny weeds, and may require trimming 1-2 times a week, especially in the early months.
- Toenails: These grow much slower than fingernails, typically needing attention every 2-4 weeks.
- Visual Check: Regardless of frequency, it is essential to regularly check a baby’s nails for any sharp edges, excessive length, or signs of breakage. A quick visual inspection during diaper changes or dressing can save you from a surprise scratch later.
When and How to Cut Newborn Nails for the First Time
The newborn phase presents unique challenges that distinguish it from all other stages of baby nail care. During these early weeks, nails often remain attached to the nail bed like stamps not quite ready to peel off an envelope. This attachment is nature’s way of protecting the developing nail structure, but it creates timing dilemmas for parents watching sharp edges develop.
Recognizing Readiness for the First Trim
Determining when newborn nails are ready for their first cutting requires understanding several key indicators. Ready nails feel firm when gently pressed, rather than soft and flexible. They extend clearly beyond the fingertip—about the width of a grain of rice—and no longer appear translucent or jelly-like in consistency.
The readiness timeline varies significantly among babies, ranging from a few days after birth to several weeks. Premature babies often need longer waiting periods, while full-term infants may be ready sooner. The key lies in assessment rather than calendar timing—nails that tear easily when lightly touched need more development time, while those that maintain their shape under gentle pressure are typically ready for careful trimming.
Managing the Emotional Component
First-time nail cutting often feels like performing surgery with garden shears—the size differential between adult hands and baby nails creates genuine anxiety that affects both parent and child. This emotional response is completely normal and reflects the profound responsibility of caring for such a vulnerable being. The fear typically exceeds the actual risk when proper techniques are employed, but acknowledging these feelings helps parents approach the task with appropriate respect and preparation.
Understanding that anxiety is normal and temporary helps parents push through initial hesitation. Like learning to drive a car, the first attempts feel overwhelming, but competence develops quickly with practice and proper guidance. Most parents report that by the third or fourth nail cutting session, their confidence has increased dramatically and the task feels much more manageable.
Sleep Patterns and Timing Advantages
Newborn sleep cycles actually provide excellent opportunities for nail care, as babies spend 14-17 hours daily in various sleep states. Deep sleep phases, which occur multiple times throughout 24-hour periods, offer windows of stillness that facilitate safe nail cutting.
However, sleep-time cutting requires developing skills for working in dim lighting conditions. The balance involves maintaining enough light to see clearly while avoiding bright illumination that might wake the baby.
Troubleshooting and Common Concerns
Even with the best preparation, unexpected situations can arise. Addressing common concerns head-on can alleviate parental anxiety, turning potential panic into calm problem-solving.
What If I Accidentally Cut My Baby’s Finger?
If you accidentally cut your baby’s skin, do not panic. Apply gentle pressure with a clean cloth until the bleeding stops. Do not use a band-aid, as it is a choking hazard. Here are the steps to follow in more detail:
- Do Not Panic: Take a deep breath. This happens to almost everyone at some point. A baby’s skin is incredibly vascular (meaning it has many tiny blood vessels close to the surface), so even a tiny nick can produce a surprising amount of blood, which often looks much worse than it is.
- Apply Gentle Pressure: Immediately apply gentle but firm pressure to the injured area with a clean, soft cloth or cotton ball. Hold the pressure for a minute or two.
- Elevate (If Possible): Briefly elevating the hand or foot above the heart can help slow blood flow, much like elevating a cut on your own finger.
- Avoid Band-Aids: Crucially, do NOT use band-aids on small babies. They pose a significant choking hazard, as infants can easily pull them off and put them in their mouths. The bleeding typically stops quickly with gentle pressure alone.
- Monitor for Infection: Once the bleeding stops, keep the area clean. Watch for any signs of infection over the next few days, such as increased redness, swelling, warmth, pus (a thick, yellowish fluid), or if the baby develops a fever. If any of these symptoms appear, or if the bleeding is excessive or does not stop after several minutes of consistent pressure, seek immediate medical advice from your pediatrician.
The Squirming Challenge
A resistant or squirmy baby can make nail care feel like wrestling a slippery eel.
- Distraction is Paramount: Engage the baby with a favorite toy, sing a song, talk soothingly, or offer a pacifier. For older infants, a short, engaging video or even a funny face can capture their attention. The goal is to shift their focus away from their hands.
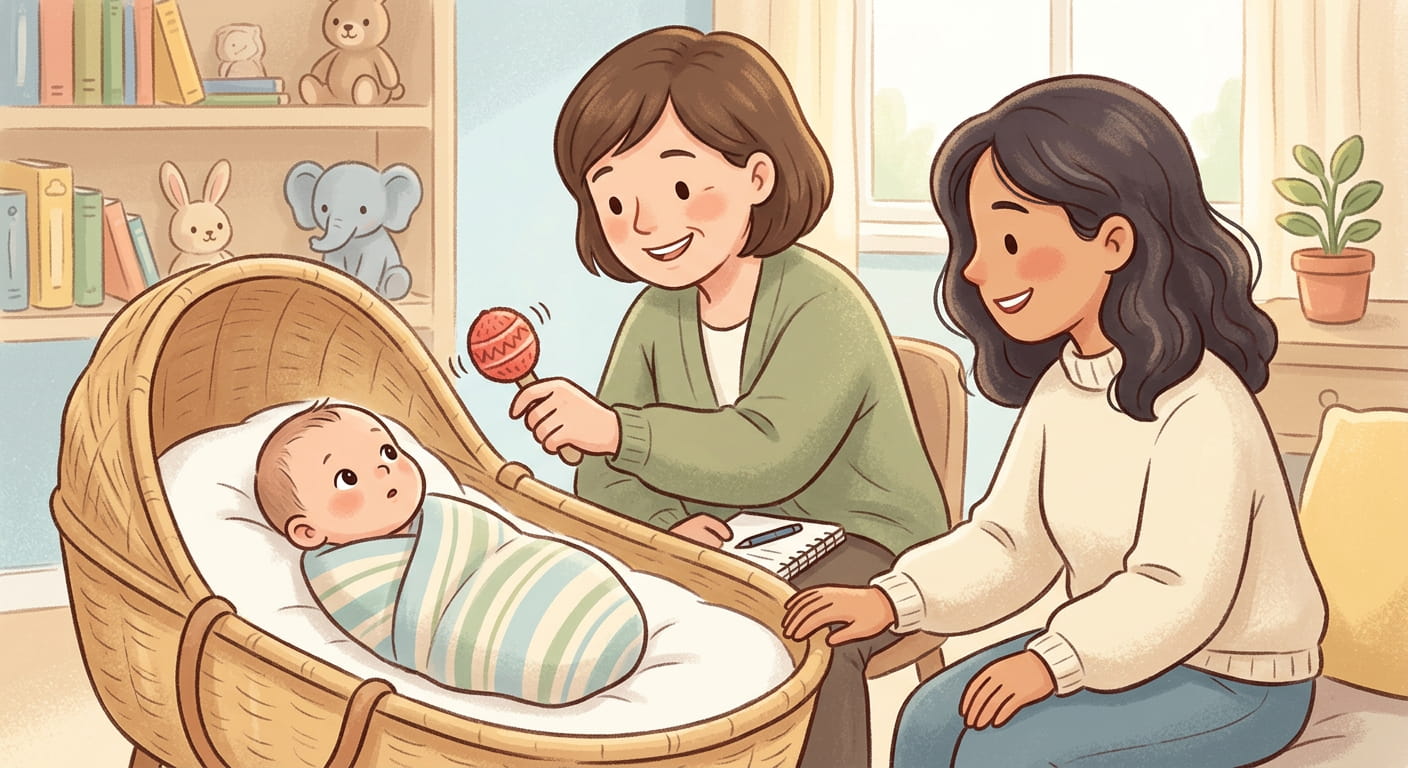
- Team Effort: If possible, enlist the help of another adult. One parent can gently hold and distract the baby (perhaps by holding their arms or offering a toy), while the other focuses on the trimming. This division of labor can make a world of difference.
- Break It Up: If the baby becomes too agitated, do not force the issue. It’s perfectly acceptable to trim one or two nails, then take a break and try again later. You don’t have to do all ten fingers and ten toes in one go.
- Experiment with Times/Methods: If awake trimming is a struggle, switch to the “sleep trim” strategy or try after a bath when they are more relaxed. If traditional clippers are causing distress, invest in an electric trimmer, which many babies tolerate far better.
- Positive Reinforcement: Make the experience as positive as possible. Praise the baby afterward, offer cuddles, and make it quick and efficient. Associate nail care with comfort and love, not struggle.
Ingrown Toenails
While less common in infants than adults, ingrown toenails can occur if toenails are not trimmed correctly.
- Prevention is Key: Always trim toenails straight across, avoiding curving the corners. This prevents the nail from growing into the surrounding skin.
- Symptoms: Look for redness, swelling, tenderness, or warmth around the edge of the toenail. The baby might pull away when their foot is touched.
- Home Care: For mild cases, warm soaks (a few minutes in a basin of warm water) can help soften the skin and provide relief. Gently massaging the skin away from the nail edge can also be beneficial.
- When to Seek Medical Advice: If the ingrown toenail appears painful, shows signs of infection (pus, spreading redness), or if the baby develops a fever, consult a pediatrician promptly.
Peeling Nails: A Common Newborn Phenomenon
Many new parents observe their newborn’s nails peeling or flaking, which can be concerning.
- Natural Shedding: This is often a normal physiological process where the outermost layers of the nail naturally shed as the baby adjusts to the external environment after birth. It’s like the body’s way of shedding old skin.
- Hydration: Ensuring the baby is well-hydrated (through adequate feeding) can sometimes help.
- Gentle Filing: Instead of pulling off peeling bits, which can cause further damage, gently file them down with a soft baby nail file.
- Self-Resolving: This condition typically resolves on its own within the first few months of life. If accompanied by other skin issues or extreme dryness, or if you are concerned, consult a pediatrician.
The “Chewing” Phase
As babies develop, they frequently put their hands and fingers into their mouths for exploration and comfort – it’s how they learn about textures, shapes, and their own bodies. During this phase, it’s even more critical to ensure nails are kept clean and trimmed to prevent the ingestion of dirt and germs, and to avoid accidental scratches to the inside of the mouth or gums. Think of their hands as their primary sensory tools; keeping them clean and safe is paramount.
Baby Nail Care FAQs
How often should you trim a baby’s nails?
Fingernails typically need trimming 1-2 times per week due to rapid growth. Toenails grow more slowly and usually require trimming every 2-4 weeks. Always check for sharp edges during regular diaper changes.
What is the best time of day to cut baby nails?
The optimal time is when your baby is in deep sleep, typically after feeding or late at night. Many parents find success during or immediately after a warm bath when nails are softer and babies are relaxed.
Is it better to use clippers or an electric file for baby nails?
For anxious first-time parents, an electric file offers the highest safety margin as it cannot cut skin. For experienced caregivers, clippers provide quicker results. Your comfort level should guide your choice.
What do I do if I accidentally cut my baby’s finger?
Apply gentle pressure with a clean cloth until bleeding stops. Do NOT use band-aids (choking hazard). Monitor for infection signs like increased redness or swelling, and contact your pediatrician if concerned.
Why are my newborn’s nails peeling?
Peeling is normal in newborns as their nails adjust to the extrauterine environment. This self-resolving condition typically disappears within the first few months. Use gentle filing rather than pulling the peeling layers.
Conclusion
The journey of parenthood is filled with countless learning curves, and baby nail care is undoubtedly one of them. What initially appears to be a daunting task, fraught with the potential for accidental nicks and tears, can, with the right knowledge and tools, become a routine act of confident care.
By understanding the vital importance of preventing scratches and infections, selecting the appropriate specialized tools designed specifically for infants, and employing strategic timing and gentle techniques, parents can navigate the world of tiny talons with ease. Remember, every parent experiences initial apprehension; it is a testament to the immense love and protective instincts that guide us.
You possess the capability to master this skill. Practice refines technique, and patience transforms a challenge into a manageable, even peaceful, interaction. Celebrate each successful trim, knowing that you are actively contributing to your little one’s comfort, safety, and overall well-being. Those smooth, scratch-free little fingers and toes are a testament to your growing confidence and dedication as a caregiver.